Bathroom renovations · Oakleigh & south-east Melbourne
Our bathroom renovation process, from first visit to the day you shower in it
Every bathroom we renovate in Oakleigh and the surrounding south-east Melbourne suburbs follows the same eight steps, in the same order. Three happen on paper, five happen in the room. The order matters: most renovation problems come from a decision made too late, after the step that depended on it is already finished.
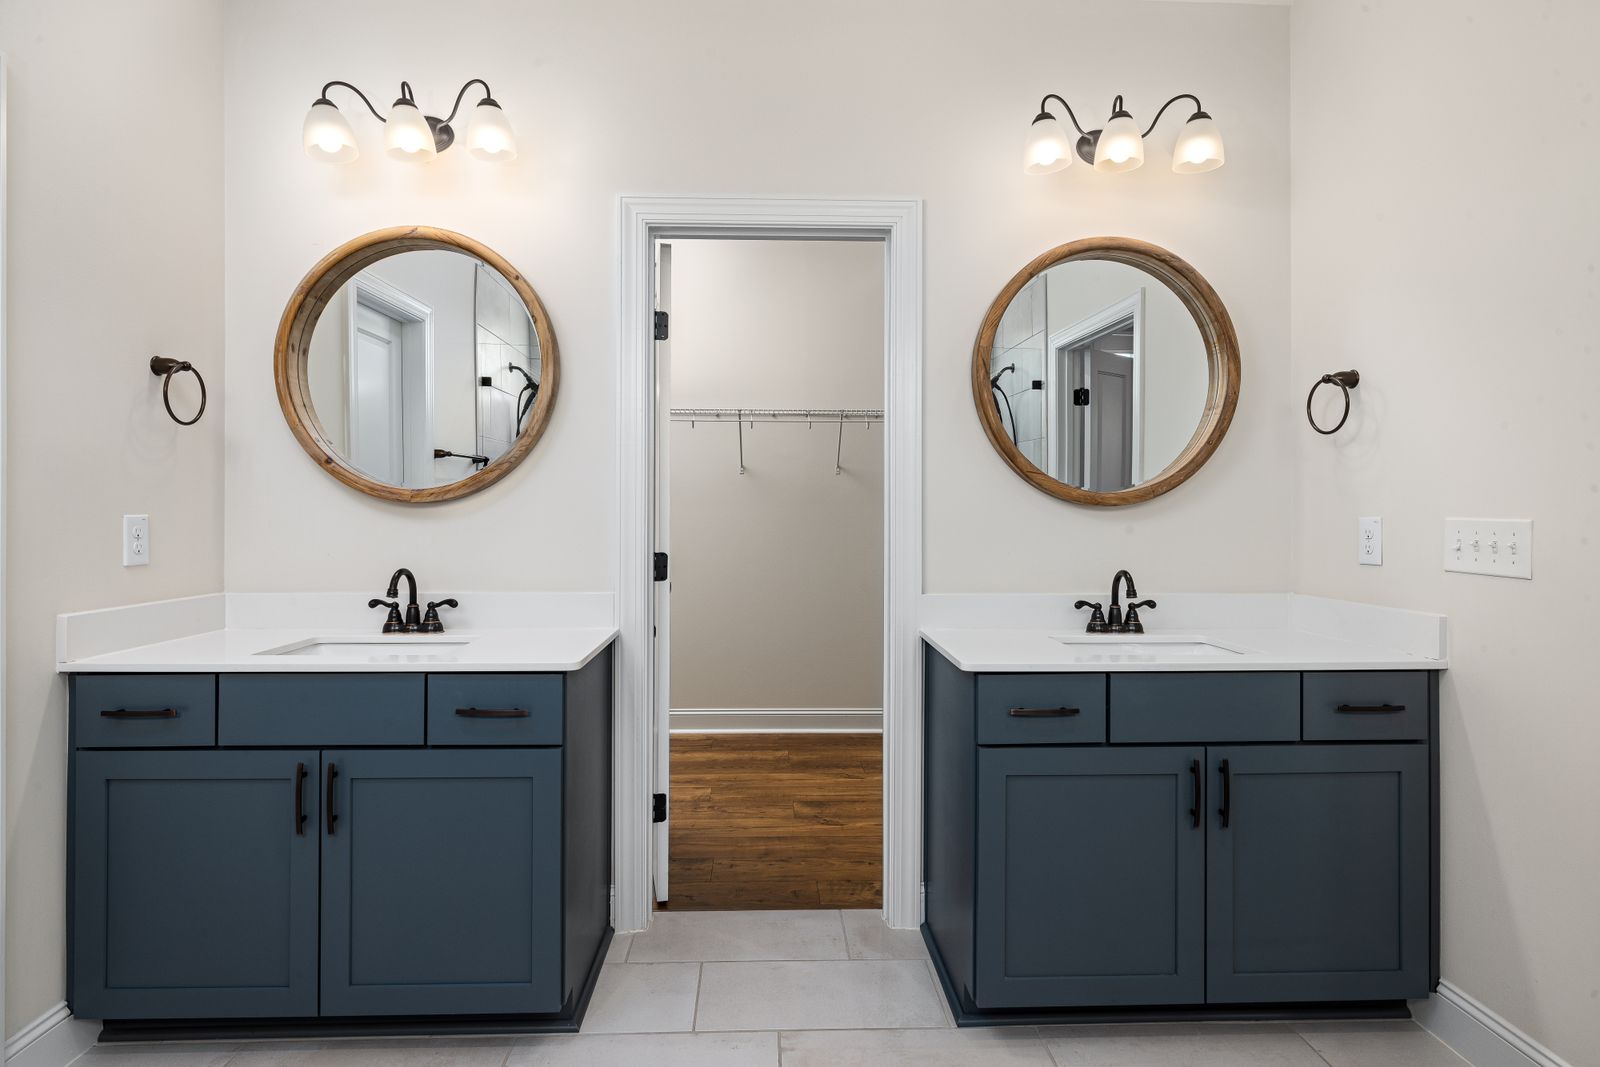
Reference plate — twin blue vanities, round mirrors, wall lights
Before step 01: what to have ready
You don’t need a finished design to start. A few notes make the first conversation far more useful.
✓Which room: main bathroom, ensuite, powder room or laundry
✓What isn’t working now: storage, leaks, layout, light, access
✓Bath, shower or both, and who uses the room daily
✓A working budget range, even a rough one
✓Photos of bathrooms you like, and ones you don’t
✓Any dates the house must be usable, such as guests or a sale
The longer version is in our bathroom renovation checklist.
Steps 01–03 — on paper
Decisions settled before anything is removed
The planning steps cost nothing to change. A moved basin on a drawing is a line; a moved basin after tiling is a demolition. That is why we keep these three steps separate from the build and don’t rush through them.
01
Consultation
We look at the room as it is: the floor, the walls, where the water comes in and goes out, and what sits on the other side of each wall. You tell us how the room is used and what needs to change; you decide which of our services the project actually needs, from a full rebuild to a shower or vanity alone.
02
Design & layout
The layout is fixed first: shower position, drain location, vanity width, toilet clearance and door swing. Then comes the schedule of finishes, covering tile, grout colour, tapware, screen and joinery. Your decisions here shape everything later, so we explain the trade-offs in bathroom design and in our guide to bathroom layouts.
03
Written quote
The quote is written against the schedule, item by item, so you can see what is included and what is a selection still to be confirmed. You decide whether to proceed, adjust a finish or change the scope before any work is booked. Our renovation cost guide explains what moves the number.
Steps 04–06 — behind the finish
The work you won't see once it's done
04
Strip-out
Old tiles, fixtures and linings come out and the room is taken back to its frame and floor. This is when hidden conditions show up, such as water damage or uneven substrates, and we talk you through any that affect the plan before continuing. See complete bathroom renovations.
05
Waterproofing
Substrates are prepared, floor falls are set towards the waste and the membrane is applied, paying closest attention to corners, junctions and penetrations. It is the one layer that can’t be upgraded later without removing the tiles, which is why it gets its own step. Read about bathroom waterproofing or the waterproofing guide.
06
Tiling
Tiles are set out from the centre lines agreed in design, so cuts land where the eye doesn’t: behind the door, under the vanity, into corners. Grout colour and niche alignment were decided back in step 02; here they are simply built. More in bathroom tiling and choosing bathroom tiles.
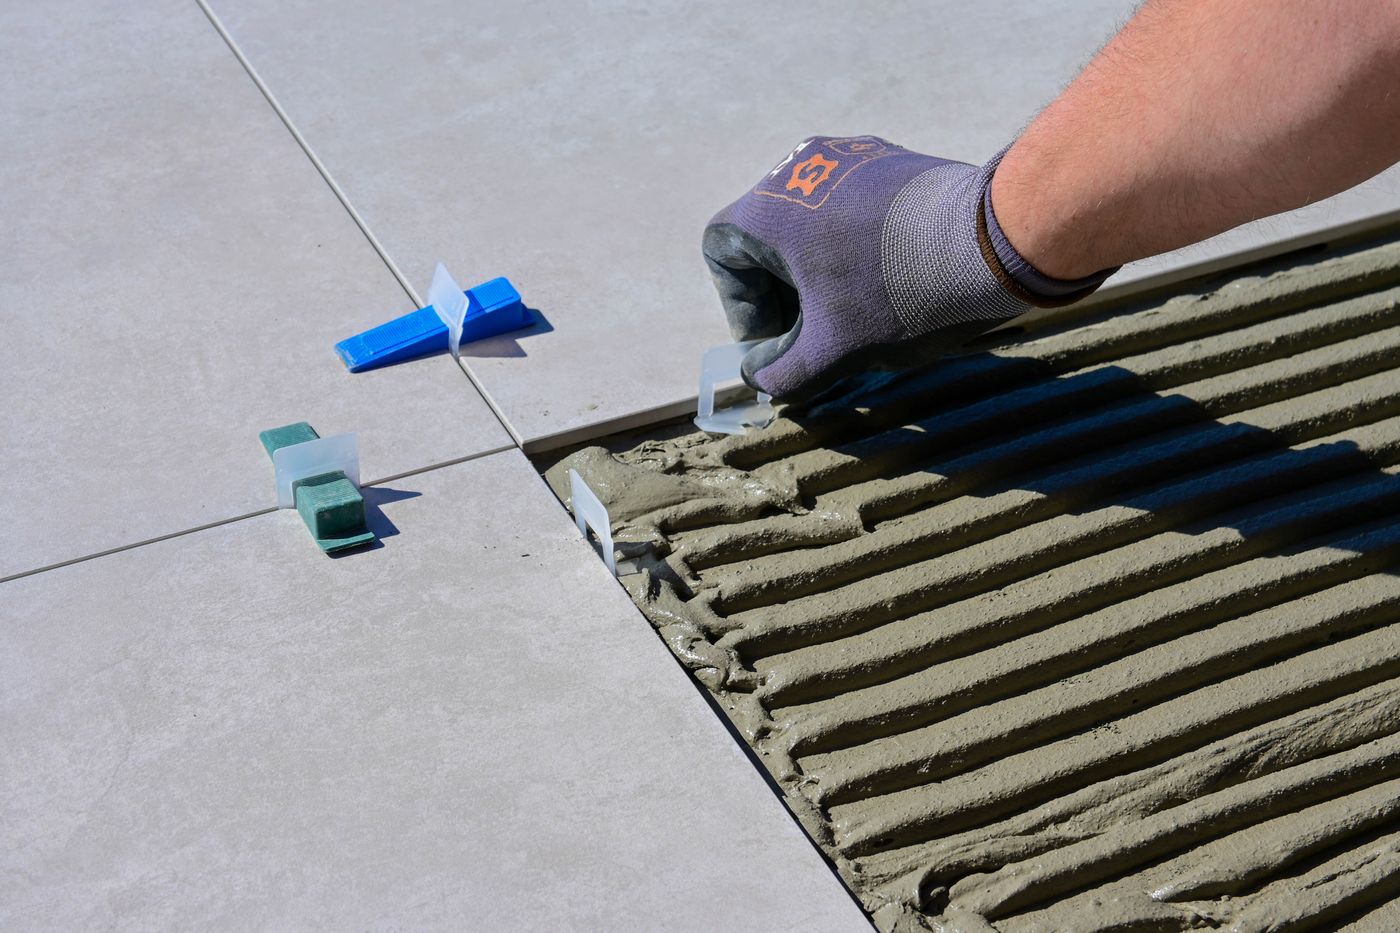
Plate — large-format floor tile, spacers and levelling clips
Steps 07–08 — into use
Into use
The last two steps turn a finished shell into a room you can use. Everything installed here was already chosen in step 02, so fit-off follows the schedule instead of guesswork.
07
Fit-off
The vanity, basin, tapware, toilet, shower screen, mirror and accessories are installed and connected, then silicone joints are finished. Heights and positions follow the schedule, so the mixer sits where the drawing put it rather than where it was convenient. Related: vanity installation, shower renovations and walk-in showers.
08
Handover
We walk through the finished room with you against the original schedule, test fixtures and drainage, and clean up. You get the care notes for your chosen tile, grout, stone and tapware. If something ever changes, like a joint that opens or a tile that sounds hollow, our leaking shower repairs page explains what to look for.
How long does each step take?
It depends on the room and the decisions in it. A like-for-like vanity swap and a full ensuite rebuild share the same eight steps but very different amounts of work within them. Custom joinery, special-order tiles and changes to plumbing or layout all add time, and so does a selection that is still open when the build begins.
The most reliable way to keep a renovation moving is to finish steps 01–03 properly. Once the schedule is agreed and selections are ordered, the trades can follow one another without waiting on a decision. Your written quote sets out the sequence for your own project.
Further reading
Start with step 01 for your bathroom
Tell us about the room in Oakleigh, Hughesdale, Carnegie, Clayton, Chadstone or nearby, and we’ll arrange the consultation. Prefer to ask a question first? Use our contact page.