Bathroom renovations · Oakleigh & south-east Melbourne
Leaking shower repairs in Oakleigh, traced to the source first
A leaking shower rarely announces itself with a drip. It shows up next door: a skirting board that swells, a tile that sounds hollow, a patch of mould that returns after every clean. We find where the water is getting out, then recommend the smallest repair that will actually stop it, for homes across Oakleigh, Oakleigh East, Hughesdale, Clayton and nearby suburbs.
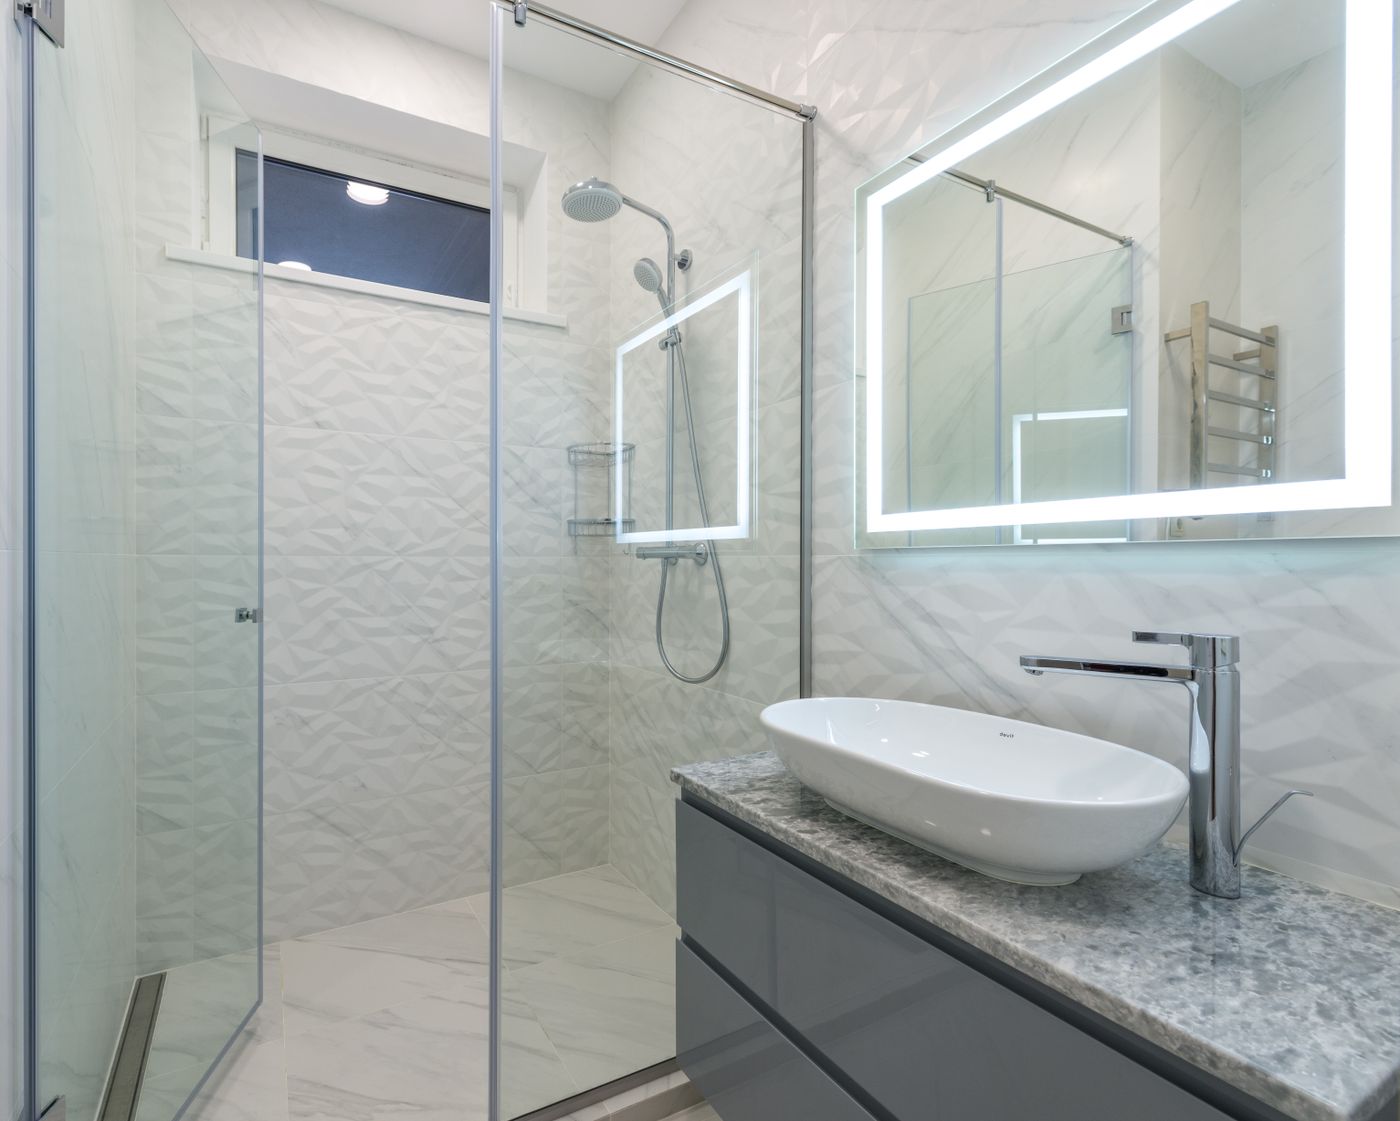
Reference plate — glass-enclosed shower, patterned wall tile
Schedule 12 — scope of a leak repair
AInspection of grout, silicone and tiles
BWaste, screen and tapware penetrations
CRegrouting and resealing
DMembrane replacement and shower rebuild
The signs a shower is leaking
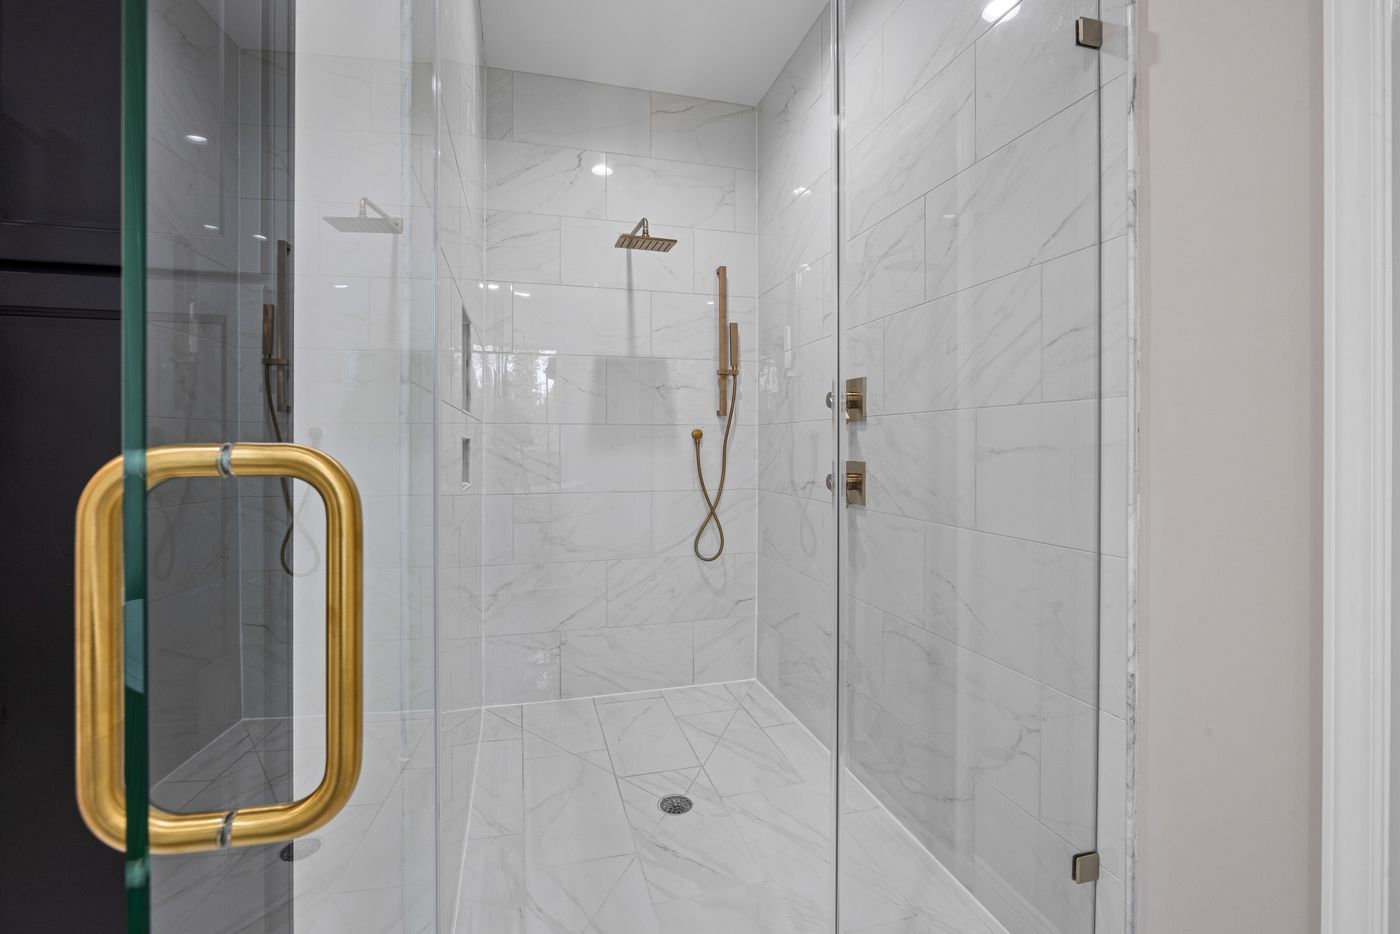
Reference plate — tiled shower floor, drainage and falls
Lifting or drummy tiles
Tiles that rock underfoot or sound hollow when tapped often mean moisture has reached the adhesive bed. Loose tiles also open new gaps for water.
Stained or swollen skirting
Water that escapes the shower travels sideways through the floor. Bubbling paint, dark staining or swollen timber in the hallway or bedroom beside the bathroom is a common early clue.
Mould that keeps coming back
Surface mould cleans off. Mould behind silicone, inside grout joints or on the far side of the wall usually means moisture is held somewhere it should not be.
Cracked grout and failed silicone
Gaps where the wall meets the floor, around the waste or along the screen line are the easiest leaks to spot, and often the easiest to fix.
01
Regrouting
Worn or cracked grout is raked out and replaced. It suits a shower where the tiles are sound, the base drains properly and the membrane underneath is still doing its job.
02
Resealing
Old silicone is cut out at internal corners, the floor-to-wall junction, the waste and the screen, then replaced. Movement joints need flexible sealant, not grout, to stay closed.
03
Rebuilding
When the membrane has failed, surface repairs only delay the damage. The shower is stripped back, the substrate repaired and new waterproofing applied before retiling.
How a leak repair is worked through
The same order applies whether the answer is a bead of silicone or a new shower. For the full stage-by-stage method, see our renovation process.
01Inspect. We look at the grout, sealant, tiles, waste and screen fixings, and check the rooms next to the shower for damage.
02Explain. You get a written recommendation: repair, partial rebuild or full rebuild, and why.
03Repair. Surface repairs are carried out with the shower isolated and left to cure before use.
04Rebuild if needed. Strip-out, substrate repair, membrane to the relevant Australian Standard, falls to the waste, then retiling and fit-off.
Questions about leaking showers
When leak repair and shower rebuild case studies are published in Projects, each will record the suburb, the cause found and the fix carried out.
Can a leak be fixed without removing tiles?
Often, yes, if the water is escaping through grout or sealant and the membrane is intact. If water is already behind the tiles and the membrane has failed, tiles need to come up.
Are grout sealers a permanent fix?
Grout and tiles are not the waterproof layer; the membrane beneath is. Sealers help surfaces resist staining and water but cannot replace a failed membrane.
Should I stop using the shower?
If you can see damage spreading to floors or walls nearby, using another shower until it is inspected limits further harm to framing and flooring.
Related schedule entries
07Bathroom Waterproofing — membranes, junctions and substrate preparation
08Shower Renovations — bases, screens, niches and drainage
06Bathroom Tiling — set-out, falls, grout and finishing
Further reading: Bathroom Waterproofing Explained, on why membranes fail and what compliant work involves.
Have the leak looked at before it spreads
Tell us what you are seeing and where. General questions can go through our contact page.