Bathroom renovations · Oakleigh & south-east Melbourne
Home / Bathroom Guides / Renovation Checklist
Bathroom renovation checklist: the decisions to make first
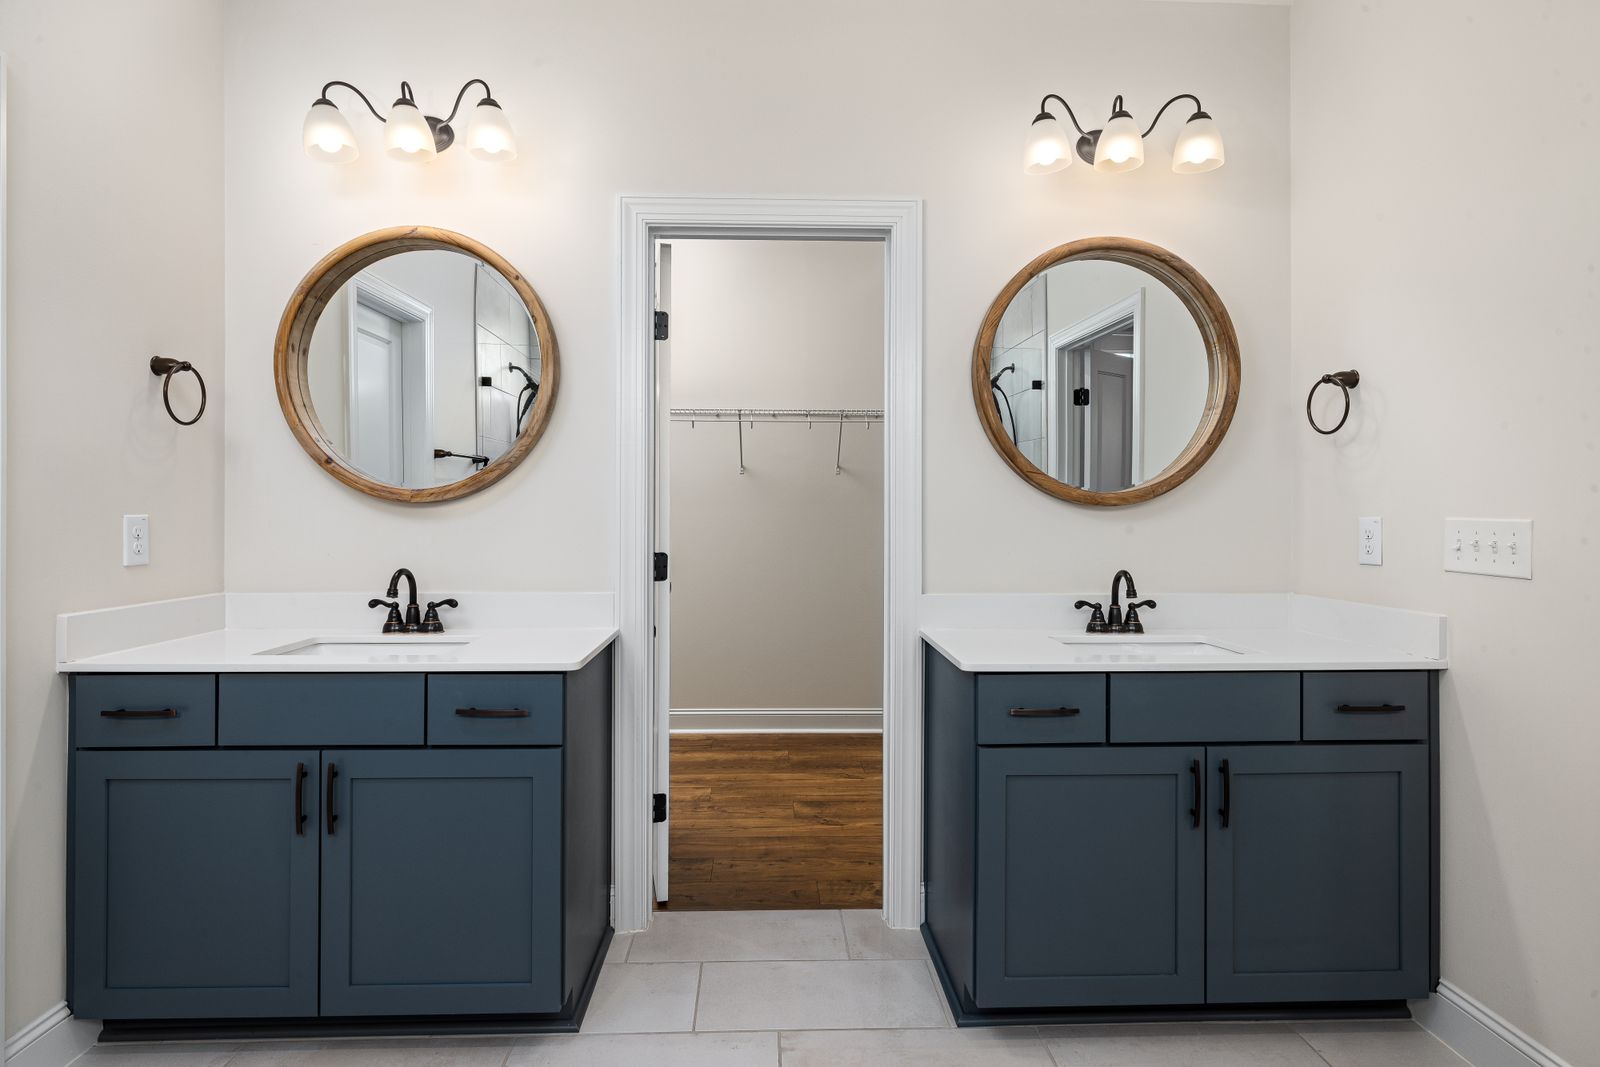
Reference plate — twin vanities, wall lighting, tiled floor
Most renovation stress comes from decisions left until the room is already stripped. This checklist puts seven of them in the order they are best settled, before a quote is finalised and long before the first tile comes off the wall.
Scope — seven decisions
01 Budget range · 02 Layout · 03 Schedule of finishes
04 Lead times · 05 Access · 06 Temporary bathroom
07 Approvals
Settle the plan before anyone prices it
A quote is only as accurate as the brief behind it. The first three decisions shape almost every line of a price, so they belong on paper before you ask for one. If they feel hard to pin down, that is exactly what bathroom design and planning is for.
01
A budget range, not a single number
Set a comfortable figure and a ceiling, then keep a margin for what sits behind old wall sheeting. A range lets you decide early where to spend, such as tapware, and where to save. Our cost guide explains what moves the price.
02
The layout, and whether plumbing moves
Keeping the shower, toilet and vanity where they are is usually simpler than relocating waste points. Decide early whether a bath stays, whether the shower becomes step-free and where the door swings. Compare options in bathroom layouts.
03
A written schedule of fixtures and finishes
List every selection in one place: floor and wall tile, grout colour, vanity, basin, tapware, shower screen, toilet, mirror, lighting and accessories. A schedule stops “we’ll pick that later” from turning into a delay mid-job.
Then prepare the house for the work
04
Lead times for every selection
Custom vanities, imported tiles and made-to-measure glass can take longer to arrive than the room takes to strip. Confirm availability before work starts, and order tile with a little extra from the same batch so shade stays consistent. See choosing bathroom tiles.
05
Access, parking and protection
Think through how materials come in and rubble goes out: the path through hallways, stairs or a shared apartment lift, and where a skip or trailer can sit. Clear the route and plan floor protection before day one.
06
A temporary bathroom plan
If this is the only bathroom in the home, decide where the household will shower while it is out of action: a second toilet, family nearby or a short stay elsewhere. Our timelines guide shows how the stages fit together.
07
Any approvals the work needs
Units and townhouses may need owners corporation consent, and work hours can be set by building rules. Structural changes or moved walls should be checked before design is locked in, not after strip-out.
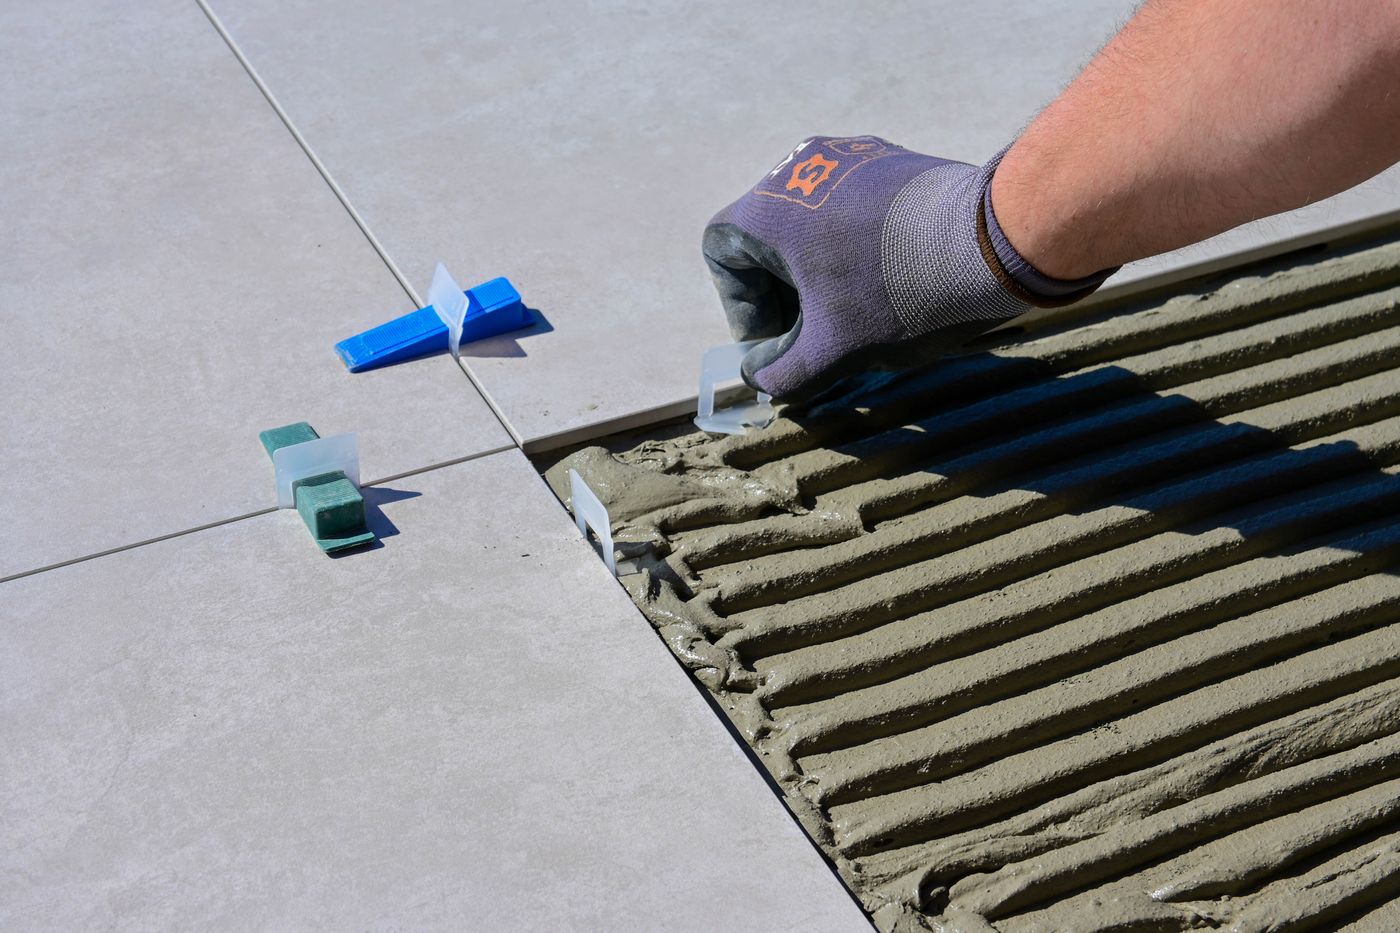
Reference plate — large-format floor tile, levelling clips
Checkpoint A
Before you request a quote
Budget range and ceiling agreed
Layout decided, plumbing moves noted
Photos and rough room measurements ready
Checkpoint B
Before strip-out begins
Schedule of finishes signed off
Long-lead items ordered or confirmed
Access route cleared, temporary bathroom arranged
Building consents in hand
Checkpoint C
Before tiling starts
Niche, tap and shower rose positions marked
Grout colour and tile set-out confirmed
Waterproofing complete — see waterproofing explained
A checklist is a brief waiting to be priced
Once these seven decisions are written down, a quote can reflect the bathroom you actually want. If you are rebuilding the whole room, start with complete bathroom renovations; if the layout is still open, begin with bathroom design. Questions first? Contact us.