Bathroom renovations · Oakleigh & south-east Melbourne
Home / Bathroom Guides / Bathroom Tiles
Choosing bathroom tiles: materials, sizes and grout
Tile is the finish you see every day, but it is chosen best as a set of connected decisions rather than a single sample in a showroom. The material decides how it wears, the size decides how it sits on the walls and floor, the slip rating decides whether the shower is safe underfoot, and the grout decides how it looks in five years. This guide takes those decisions in order.
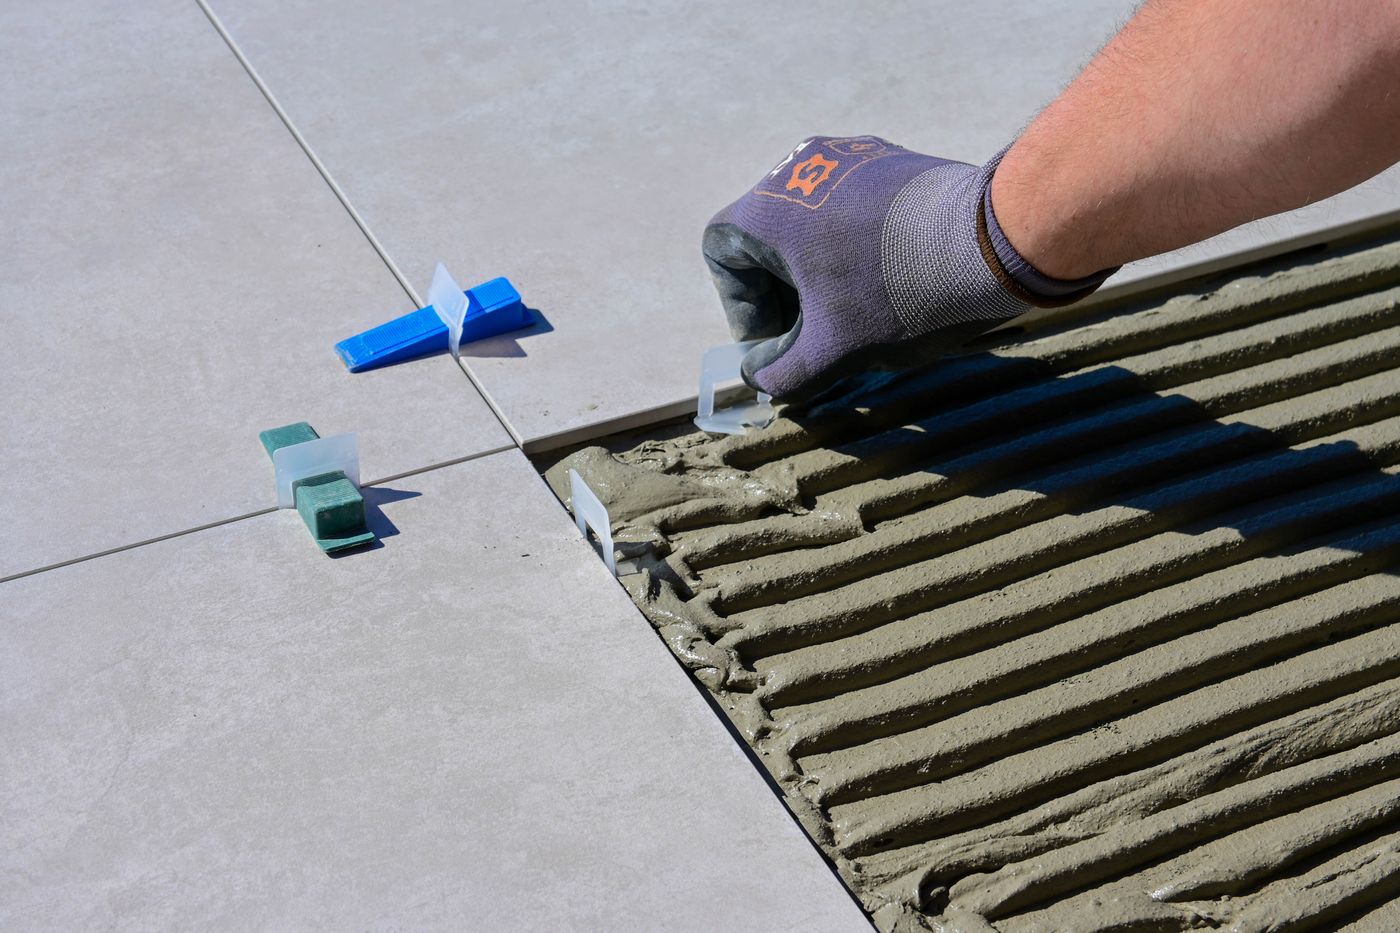
Reference plate — large-format floor tile, levelling clips
Schedule — settle before you choose a tile
01Where each tile goes: wall, floor or shower floor
02Material: porcelain, ceramic or natural stone
03Size and set-out against the room’s dimensions
04Slip rating for every wet floor
05Grout colour and joint width
06Trims, niches and edges
Order matters here. Choosing a tile before the set-out is agreed is how rooms end up with thin slivers cut against a wall or a niche that misses the grout line.
Porcelain, ceramic or natural stone
All three can make a beautiful bathroom. The differences show up in density, maintenance and where each one is best placed.
Material A
Porcelain
Dense and low in water absorption, which makes it the dependable choice for floors and showers. It comes in the widest range of looks, including stone, concrete and timber effects, and in large formats that reduce grout lines.
Material B
Ceramic
Lighter and easier to cut, ceramic suits walls well, especially glazed subway and handmade-look tiles. It is generally softer than porcelain, so check the manufacturer’s rating before using it on a floor.
Material C
Natural stone
Marble, travertine and limestone bring variation no print can match. Stone is porous and needs sealing and gentle cleaners, and is often used as a feature wall or vanity surface in luxury bathrooms.
Size, set-out and slip resistance
Choosing a tile size
Large-format tiles make walls calmer and small rooms feel wider, but they need very flat substrates and careful handling. On a shower floor that falls to a waste, smaller tiles or mosaics follow the slope more easily, while a linear drain lets larger tiles fall in one direction.
Planning the set-out
Set-out is the drawing of where every joint lands. A good one centres tiles on the main wall, lines niches and tapware up with grout joints and keeps cuts to even widths at the room’s edges. It belongs in the bathroom design stage, before anything is ordered.
Slip resistance for wet floors
In Australia, floor tiles are tested and given a slip rating, commonly shown as a P rating. Ask for the rating of every floor tile, and choose a more slip-resistant tile for shower floors and step-free entries than you might for a dry area. A glossy tile that looks perfect on a wall can be the wrong choice underfoot.
Grout colour, upkeep and trims
Grout that matches the tile makes a surface read as one plane; a contrasting grout draws the grid and turns the pattern into a feature. Mid-tones such as warm grey hide everyday marks better than bright white on a floor. Narrow joints look cleaner but depend on well-calibrated tiles, and an epoxy grout can be worth considering in a shower that sees heavy use.
Trims finish external corners, niches and tile-to-wall edges. Mitred tile edges give the neatest result, while metal trims in brushed or matt finishes can pick up the tapware. Whatever sits underneath, tile is only as good as the waterproofing behind it.
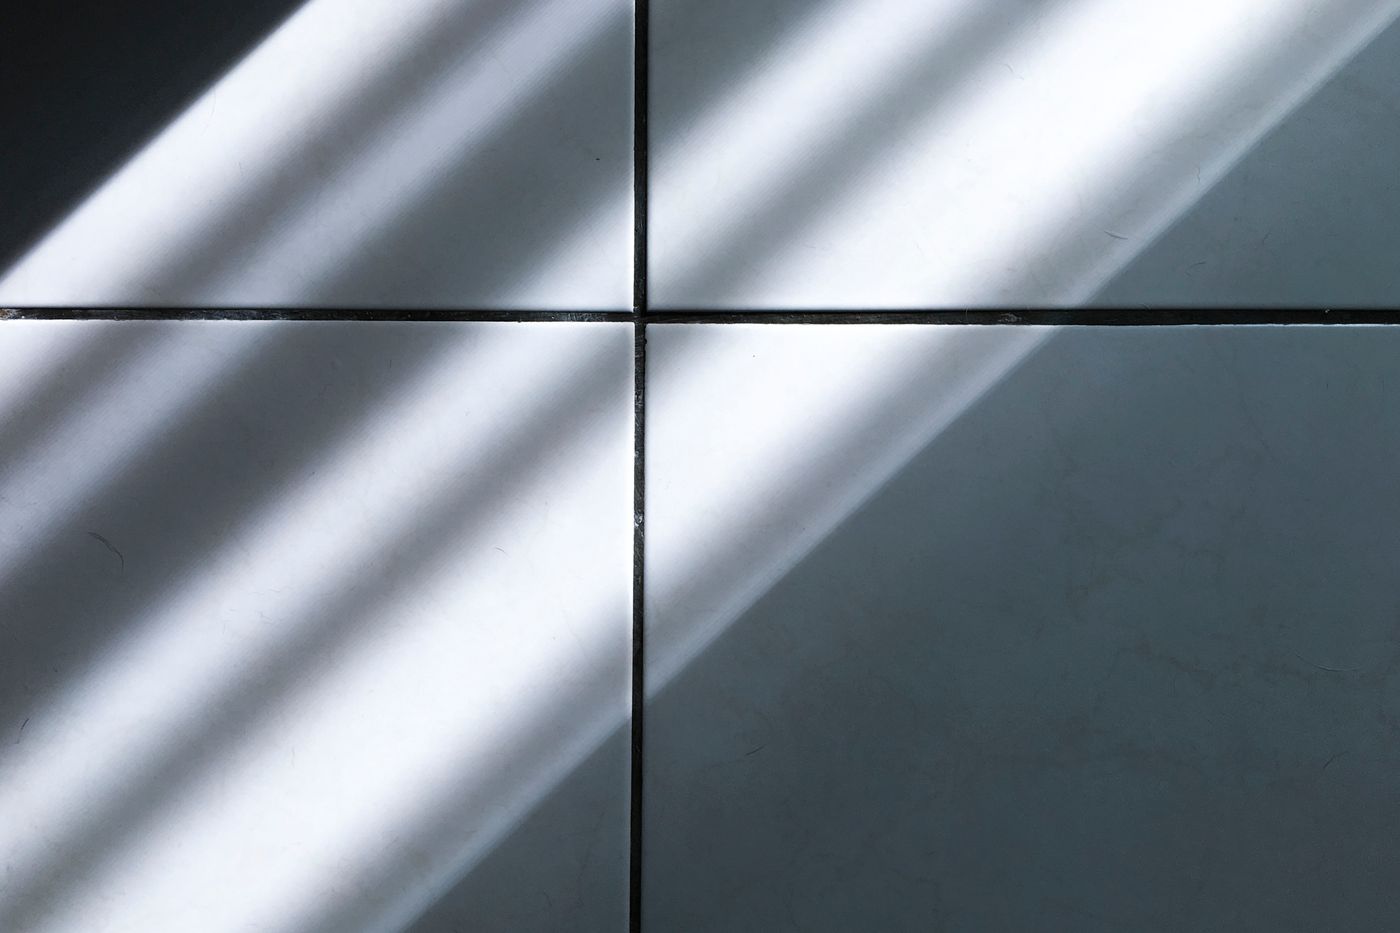
Reference plate — white ceramic tile, contrasting dark grout
Related reading & services
Bathroom Tiling Oakleigh — set-out, falls to waste, grout and finishing
Luxury Bathroom Renovations Oakleigh — stone surfaces and feature detailing
Bathroom Waterproofing Explained — what sits behind the tile
Walk-In Shower Guide — drains, screens and step-free floors
Narrowed down a tile? Request a free quote or get in touch about your Oakleigh bathroom.