Bathroom renovations · Oakleigh & south-east Melbourne
09
Schedule 09 — on this page
Drains and floor falls
Glass and splash zones
Step-free access
The build, in order
Questions and related work
Walk-in showers in Oakleigh, with nothing to step over
A walk-in shower removes the hob, the door and usually the frame, leaving an open, tiled zone that runs level with the bathroom floor. It looks simple because the difficult decisions are hidden: where the water drains, how the floor falls towards it, how far spray travels past the glass and how the membrane is continued underneath. We plan and build walk-in shower conversions for homes across Oakleigh, Hughesdale, Carnegie, Clayton and nearby south-east Melbourne suburbs.
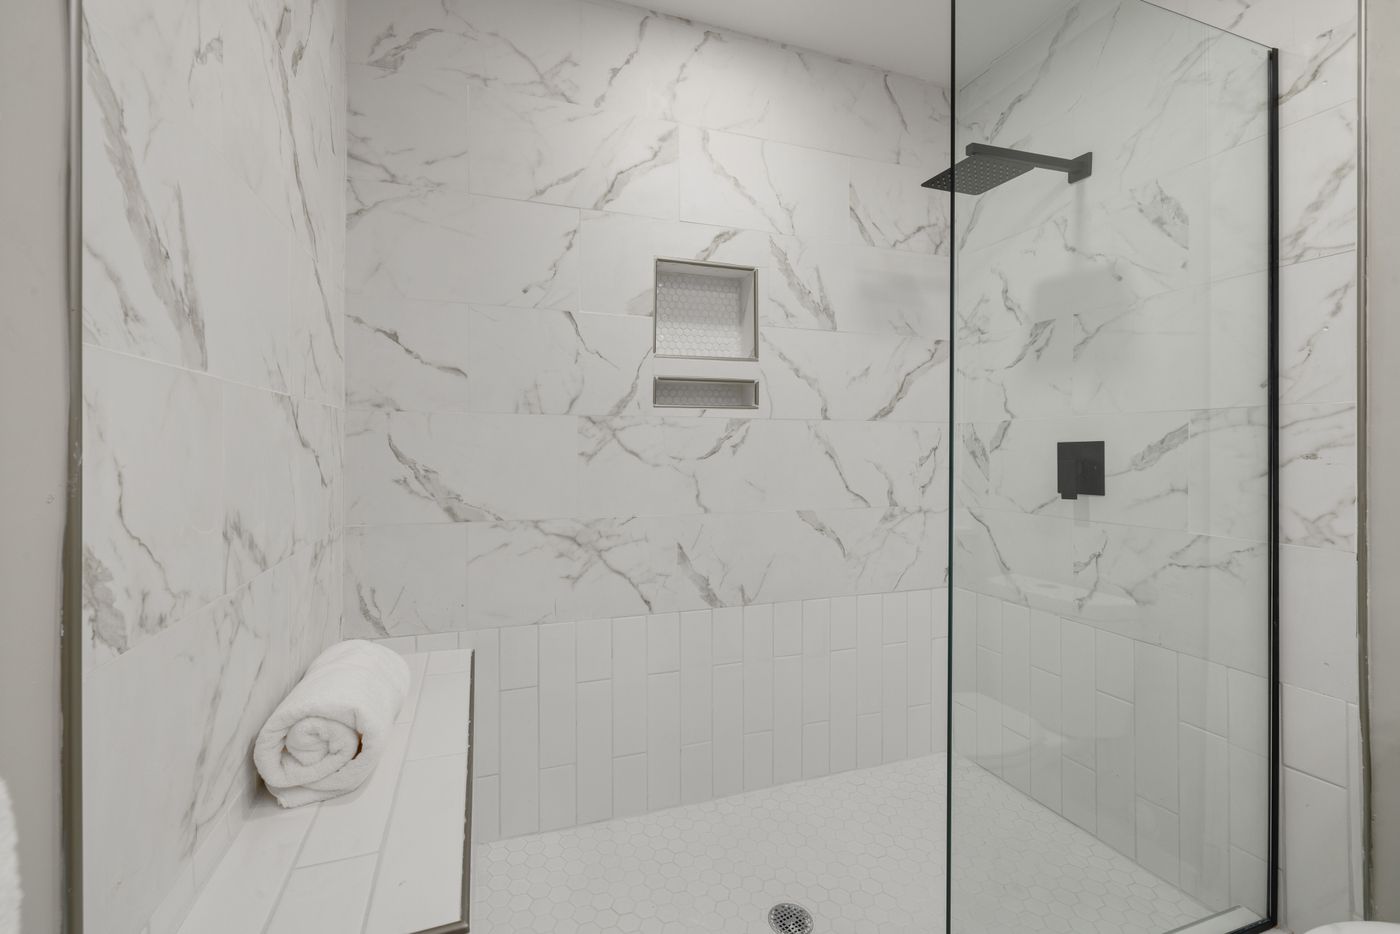
Plate 09 — frameless panel, recessed niche, hexagonal floor tile
Choosing the drain decides the floor
Without a hob to hold water back, the floor itself does the work. The drain type sets how the falls are shaped and which tile sizes suit the shower zone, so it is the first line on the schedule.
Option A
Linear drain
A long channel set against a wall or across the shower entry. The floor falls in one direction, which suits large-format porcelain and keeps grout lines calm.
Option B
Tile-insert channel
The same linear principle with a tray that takes a strip of your floor tile, so the drain almost disappears. It asks for careful set-out so the cut tile aligns with the field.
Option C
Square grate
A point drain with the floor falling from all sides. It often reuses an existing waste position and works well with smaller tiles or mosaics that follow the envelope cuts.
Glass, splash zones and step-free entry
Fixed glass panels
Most walk-in showers use one fixed frameless panel, sometimes with a return. Its length and the gap left for entry are set around the shower head position, not the other way round.
Splash zones
Open showers let spray reach further, so the waterproofed area and floor falls are planned for where water actually lands. A rail shower or ceiling head placed deeper inside the zone keeps the rest of the room drier.
Accessibility
A level entry helps anyone planning to stay in their home longer. We can allow for wall blocking behind the tiles for future grab rails, a bench or seat, a handheld shower on a rail and slip-resistant floor tiles. The Walk-In Shower Guide covers these choices in more depth.
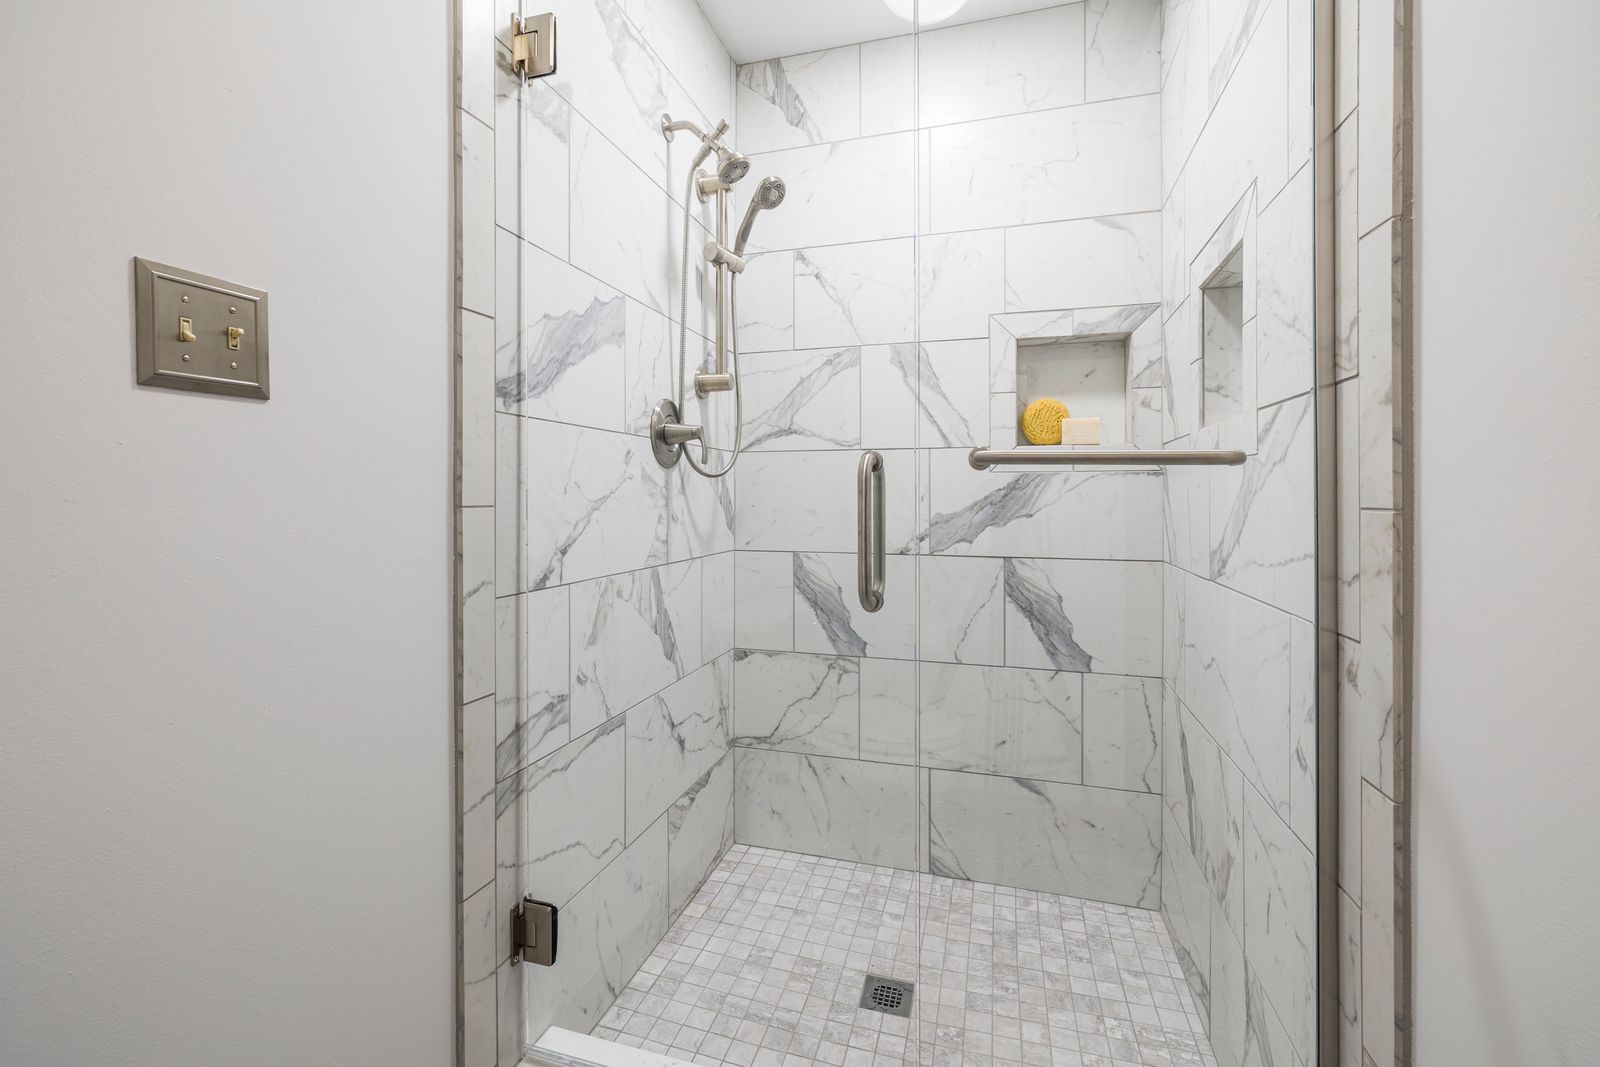
Plate 09.2 — grab rails, handheld and overhead fittings
The build, in order
Each conversion follows our renovation process, adapted to a hob-less floor.
01Measure and plan. We check the floor structure, existing waste and wall positions, then choose the drain and glass layout.
02Strip-out. The old base, hob and screen come out and the substrate is exposed.
03Plumbing and falls. The waste is set, and the screed is shaped so water runs to the drain.
04Waterproofing. The membrane is applied across the shower zone and floor, with junctions and penetrations detailed.
05Tiling. Floor and walls are laid from the set-out, following the falls.
06Fit-off. Tapware, glass panel and accessories are installed and the shower is tested.
Walk-in shower questions
Can my existing shower become a walk-in shower?
Often, yes. It depends on the floor construction and whether there is room to create falls without a step, which we confirm on site before quoting.
Will water escape onto the bathroom floor?
Correct falls, drain placement, panel length and shower head position together keep water in the zone. The floor outside is also waterproofed and graded as the layout requires.
Does a walk-in shower need a full bathroom renovation?
Not always. Because the floor changes, the conversion usually extends past the old shower footprint, but vanity and toilet can often stay. We will explain the scope for your room.
Related · 08
Shower Renovations — rebuilding a shower with a base, screen or niche.
Related · 04
Luxury Bathrooms — stone, premium tapware and larger walk-in zones.
Related · 07
Bathroom Waterproofing — the membrane beneath every level floor.