Bathroom renovations · Oakleigh & south-east Melbourne
Home / Bathroom Guides / Renovation Timelines
Bathroom renovation timelines: how the stages fit together
A bathroom renovation is not one long job. It is a chain of stages, each waiting on the one before it. The length of that chain depends less on how fast anyone works and more on decisions, deliveries and drying times. This guide sets out the order the stages run in and the four things that most often stretch or shorten the whole programme.
Schedule — what this guide covers
AThe order of the eight stages
BSelection lead times
CMembrane curing
DTrade scheduling
EWhat turns up behind the walls

Reference plate — drawings, material samples and a tape measure
The order the stages run in
The sequence rarely changes, because each stage covers up the last. Once tiles are down, nobody can inspect the membrane, and once the vanity is fixed, moving a waste pipe means starting again. That is why the early paperwork stages matter as much as the building ones.
Our full renovation process explains each step in more detail.
01Consultation. The room is measured and the brief agreed: what stays, what moves and what the budget has to cover.
02Design & layout. Fixture positions, tile set-out and finishes are settled through bathroom design.
03Written quote. The scope is priced against the agreed selections, so ordering can begin.
04Strip-out. The old room comes out, exposing framing, floor and pipework for the first time.
05Waterproofing. Rough-in is completed, the substrate prepared and the membrane applied, see bathroom waterproofing.
06Tiling. Floor falls, walls, niches and grout, following the set-out drawn in the design stage.
07Fit-off. Vanity, tapware, toilet, screen, mirror and lighting are installed and connected.
08Handover. A final clean and walk-through before the room goes back into daily use.
Four things that set the pace
No two bathrooms follow the same calendar, so we don’t publish a standard duration. These are the factors that decide yours.
B
Selection lead times
Custom vanities, imported tiles and made-to-measure glass are ordered, not picked up. Finalising selections before strip-out means the room is never opened up while products are still on the way.
C
Membrane curing
Each membrane system has drying times between coats and before tiling, set by its manufacturer. Cold or damp weather can lengthen them. It is a wait worth respecting, because rushed membranes are a leading cause of leaks.
D
Trade scheduling
Plumbing, electrical, waterproofing, tiling and glazing each need their turn on site. When one stage runs over, the next trade’s booking moves too, so a single delay can ripple through the rest.
E
Behind the walls
Older Oakleigh, Hughesdale and Carnegie homes can hide rotted framing, uneven floors or tired pipework. These only show after strip-out, and fixing them properly comes before anything new goes in.
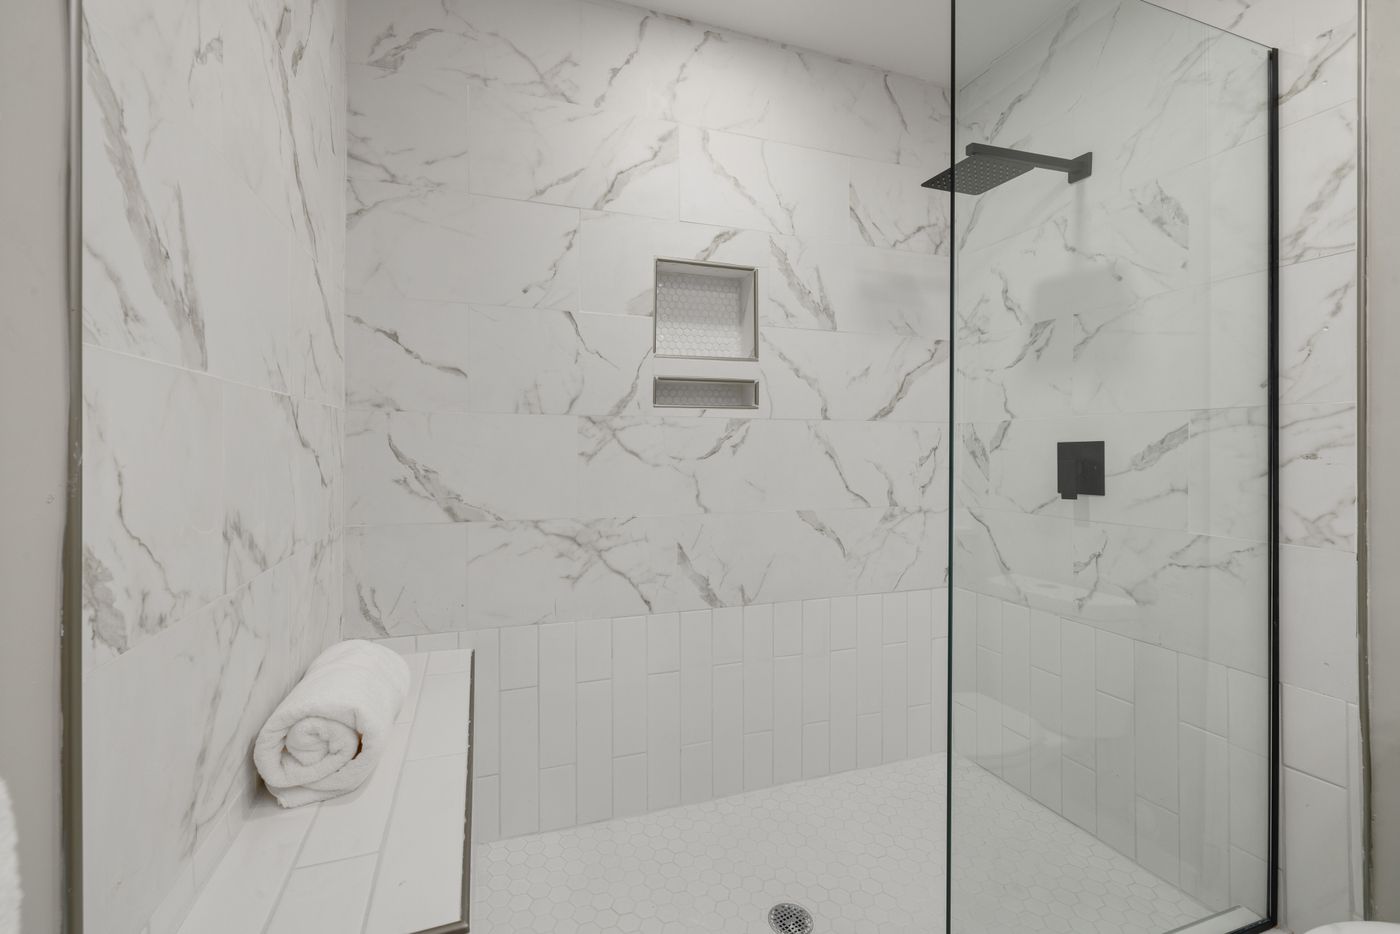
Reference plate — niche, frameless screen, hexagonal floor
Keeping the programme moving
Most delays are decided before any tools arrive. A finished room like this one depends on the niche position, screen size and drain location being fixed on paper first, so the glass can be measured and ordered while the earlier stages run.
Confirm every selection before the strip-out date.
Agree how hidden issues will be raised and approved.
Plan where you will wash while the bathroom is out of use.
Avoid changing layout once rough-in has begun.
For the full list, work through the renovation checklist, and read common renovation mistakes for the changes that cost the most time.
If you are planning a full rebuild, our complete bathroom renovations page shows how the stages come together from strip-out to handover. When you’re ready to map out your own programme, send us the details of your bathroom and we’ll talk through the sequence with you.