Bathroom renovations · Oakleigh & south-east Melbourne
In this guide
01Why waterproofing fails
02What compliant work involves
03Warning signs of a leak
04Repair or rebuild?
Home / Bathroom Guides / Waterproofing
Bathroom waterproofing explained
Waterproofing is the one layer of a bathroom you never see once it is finished, and the one that decides whether the tiles above it last. When it fails, water travels quietly into timber floors, wall frames and neighbouring rooms long before a stain appears. This guide explains where membranes go wrong, what careful work looks like, and how to read the early signs in your own shower.
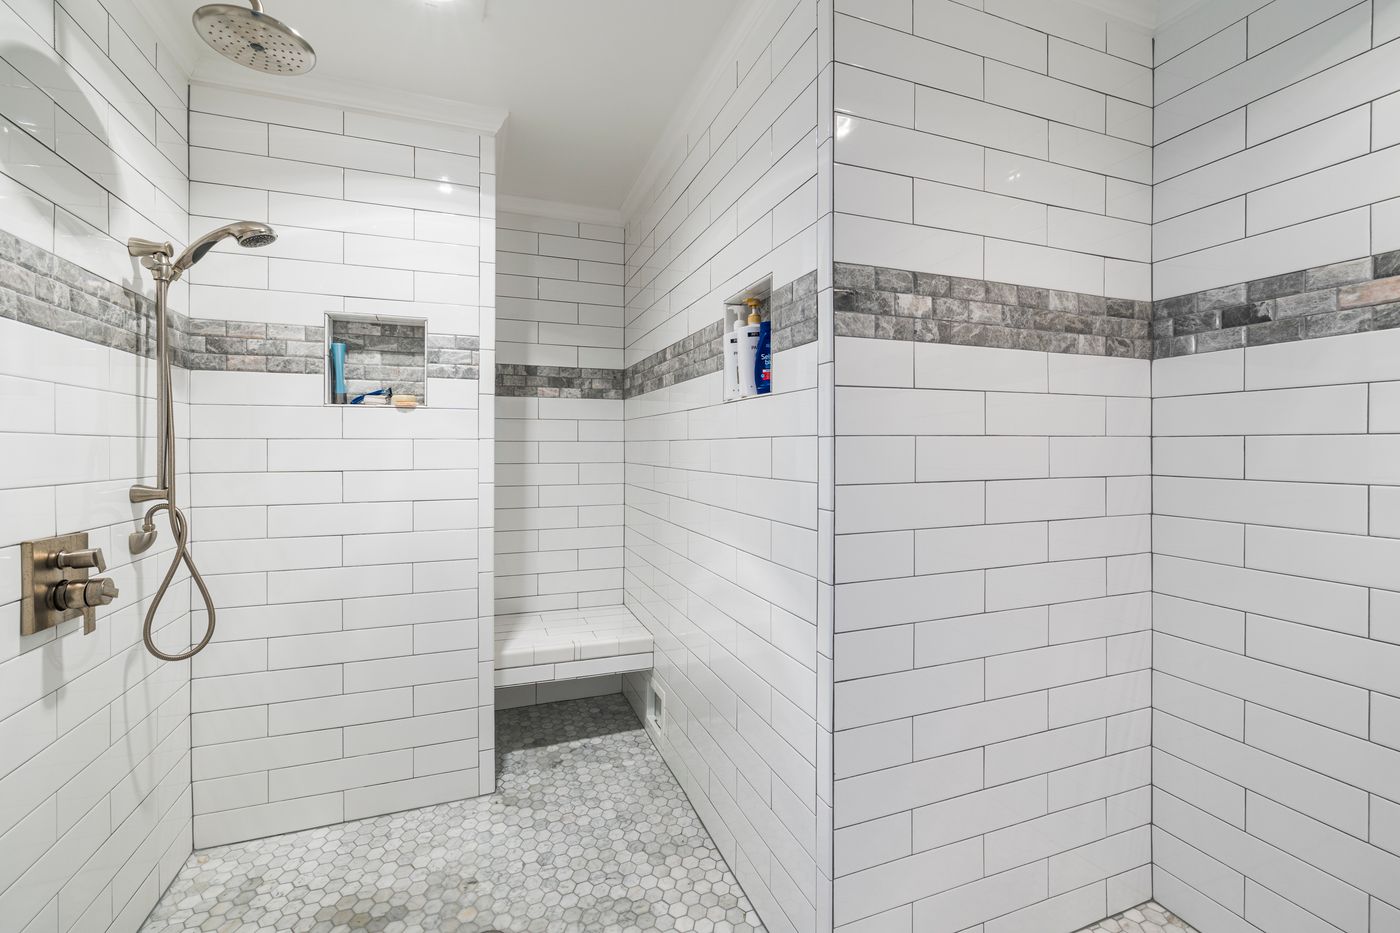
Reference plate — niches, bench and tiled corners where a membrane must stay continuous
01
Why waterproofing fails
Most failures are not caused by a poor product. They come from the conditions the membrane was applied in, or from the details around it.
A weak substrate. Membrane laid over dusty, damp or moving sheeting cannot bond, and it will crack where the board flexes.
Thin or uneven coats. Liquid membranes need a consistent thickness. Patchy coverage leaves pinholes that no grout will hide.
Unsealed junctions. The corners where walls meet floor, the puddle flange at the waste, and penetrations for tapware and shower arms move differently from flat surfaces. Without bond breakers and reinforcement, these are the first places to open up.
Rushing to tile. Tiling over a membrane that has not cured traps solvents and damages the film before the bathroom is ever used.
02
What compliant waterproofing involves
In Australia, wet-area waterproofing is set out in AS 3740 and the building code. In practice, sound work follows four stages in order, each checked before the next begins.
Stage A
Substrate
Clean, dry, fixed sheeting and a screed laid with falls to the waste, so water drains rather than sits on the membrane.
Stage B
Membrane
Primer, then a system applied in the coats and thickness its manufacturer specifies, across the whole shower and up the walls.
Stage C
Junctions
Bond breakers in corners, a sealed puddle flange at every waste, and collars around each pipe that passes through the wall.
Stage D
Curing before tiling
The membrane is left for its full cure time and inspected before any adhesive goes on. Read more on our bathroom waterproofing page.
03
Warning signs of a leaking shower
Is grout darkening and staying dark long after the shower has dried?
Do tiles sound hollow or move underfoot near the waste?
Is paint bubbling or skirting swelling on the wall outside the shower?
Is there a musty smell that ventilation does not clear?
Has a stain appeared on a ceiling or floor below the bathroom?
One sign alone may only mean tired silicone. Several together usually point to water getting past the tile layer. Our leaking shower repairs page explains how the source is traced.
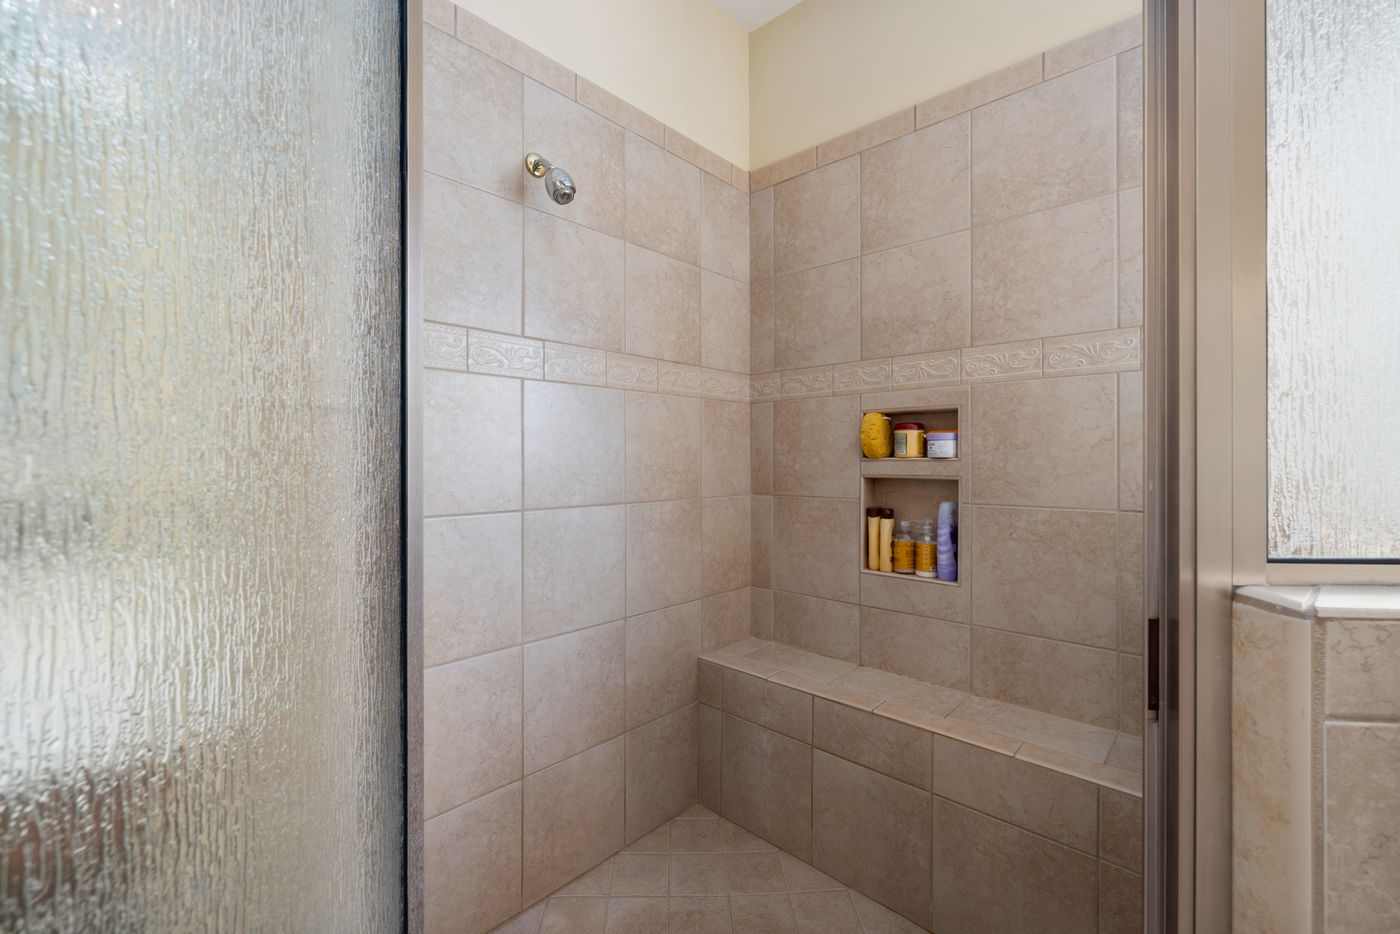
Reference plate — grout lines, corners and screen seals to check
04
Repair or rebuild?
If the membrane underneath is intact and water is entering through cracked grout or failed silicone at the screen and corners, regrouting and resealing can be enough. If the membrane itself has broken down, or the floor has no fall to the waste, surface work only delays the next leak. In that case the shower is stripped back and rebuilt as part of a shower renovation, with new tiling laid over a fresh system.
Either way, the decision should follow an inspection, not a guess. For older bathrooms across Oakleigh, Hughesdale and Carnegie, that inspection is the sensible first step before any tile is chosen.
Related reading
Walk-In Shower Guide: Screens, Drains and Step-Free Entry
Worried about a shower now? Request a free quote or send a question through our contact page.