Bathroom renovations · Oakleigh & south-east Melbourne
In this guide
01Screens
02Drains & floor falls
03Splash control
04Step-free entry
05Briefing checklist
Home / Bathroom Guides / Walk-In Showers
Walk-in shower guide: screens, drains and step-free entry
A walk-in shower looks like the simplest part of a bathroom: a sheet of glass, a tiled floor, no tray and no door. That simplicity comes from decisions made underneath it. Where the water drains, how the floor falls towards it and how far the spray travels are all settled before a single tile goes down. This guide takes those decisions in order, so you can brief a walk-in shower with confidence.
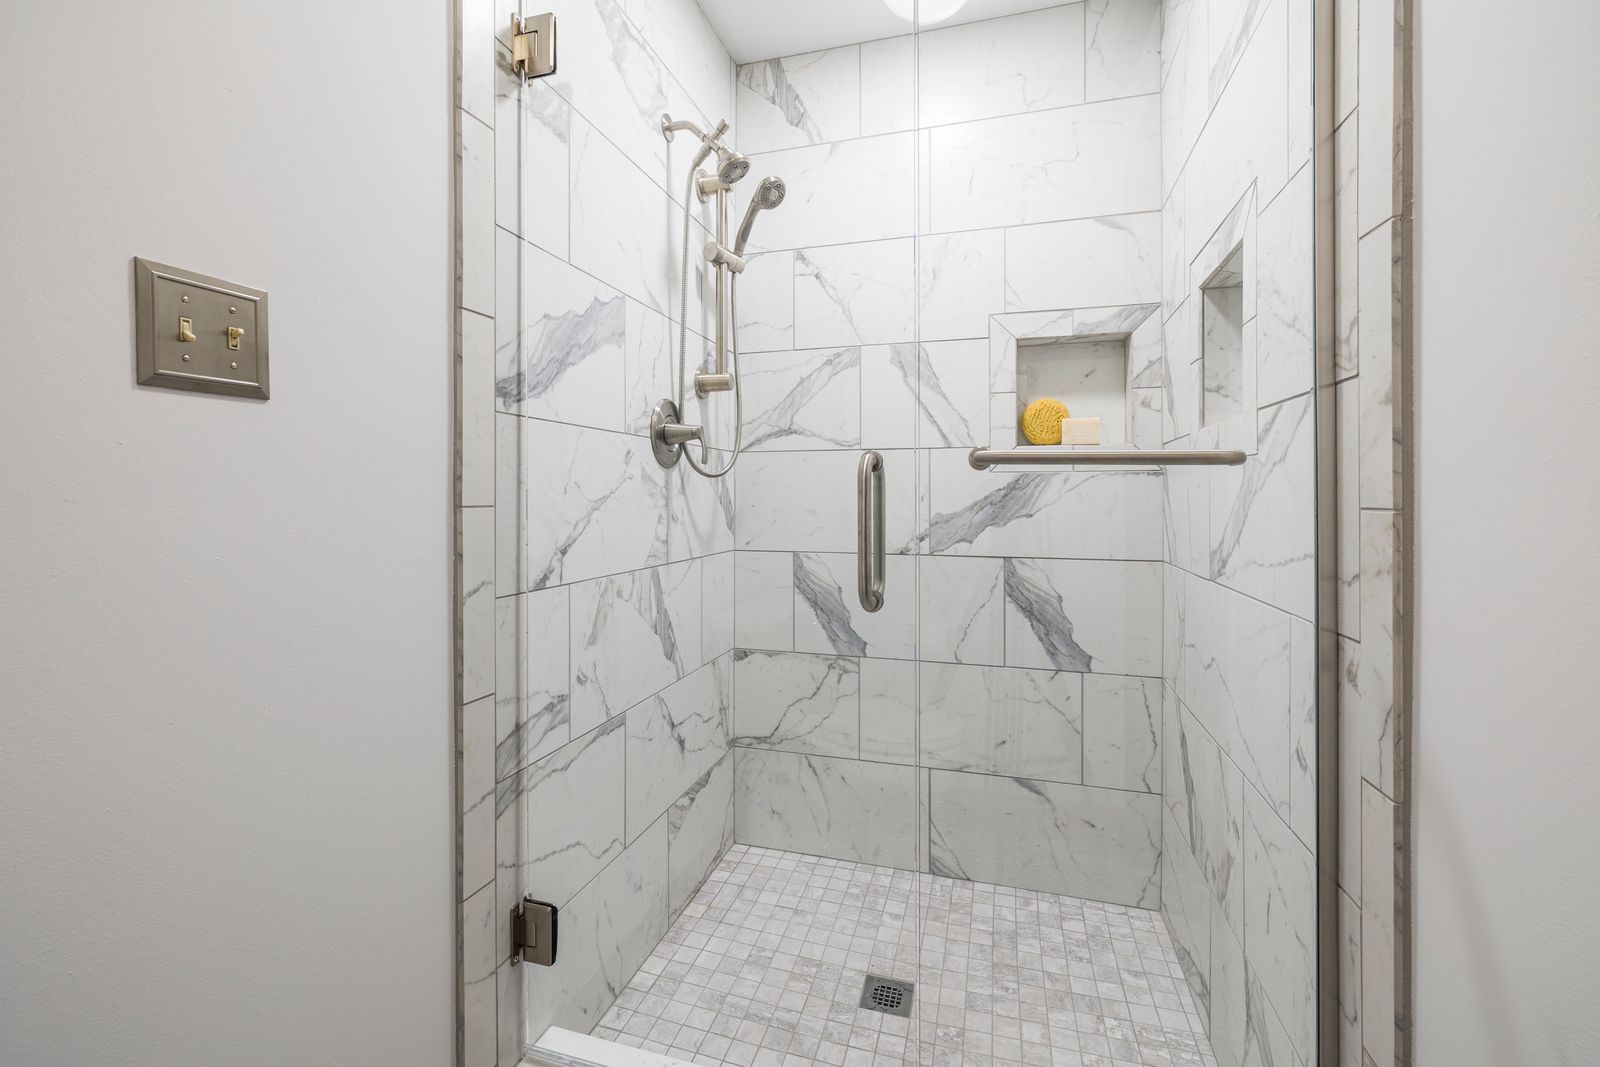
Reference plate — step-free shower, grab rails, handheld and overhead fittings
01
Choosing the screen
Most walk-in showers use fixed glass rather than a door. The choice is how much glass, and where it stops.
Single fixed panel
One frameless panel, fixed to the wall and floor, leaves an open entry beside it. It is the cleanest look and the easiest glass to keep clean, which is why it suits compact rooms. It works best where the shower sits at the end of a longer bathroom, so the opening faces away from the vanity and toilet.
Panel with a return
A second, shorter panel set at right angles closes one more side and holds spray in. It helps in wider rooms where the shower stands away from a wall. Choose hardware finish early: brushed, black or chrome brackets should match the tapware and drain grate, not be picked on installation day.
02
Linear drains and floor falls
With no tray and no hob, the floor itself has to move water. A traditional centre drain means the floor falls from four directions, so the tiles need angled cuts around it and smaller formats handle the shape more easily. A linear drain along the back wall or across the entry lets the floor fall in one plane. That keeps large-format tiles flat and uncut, and it suits the calm, continuous look most people want from a walk-in shower.
The falls have to carry water to the grate without ponding, and the waterproofing membrane underneath must be continuous across floor, wall junctions and the drain flange. This is where walk-in showers succeed or fail, which is why we treat bathroom waterproofing and tile set-out as one decision. For more on membranes, read Bathroom Waterproofing Explained.
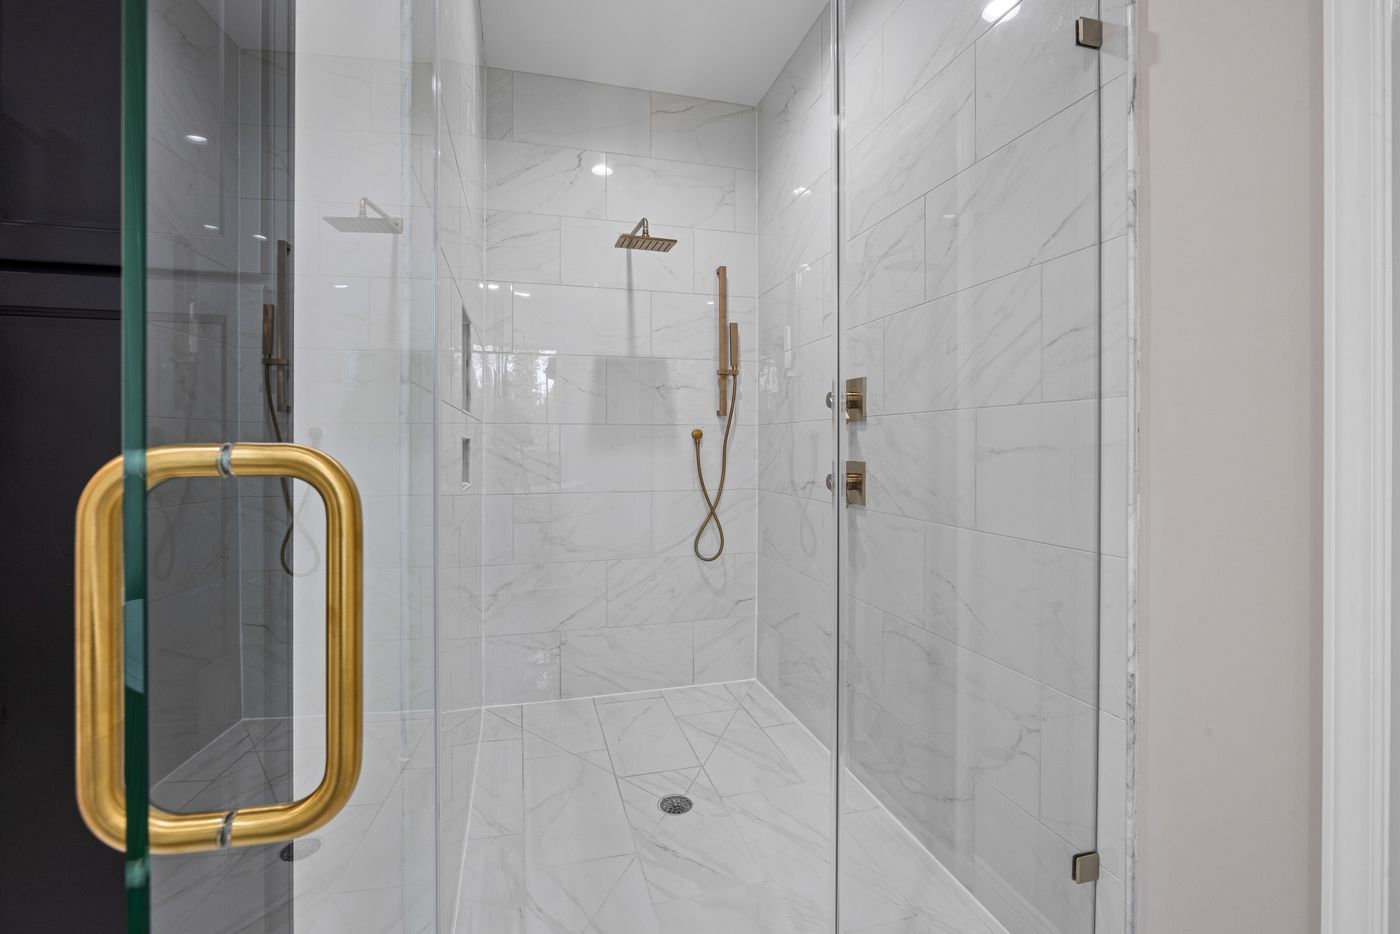
Reference plate — clear glass panels, overhead and handheld fittings
03
Splash control
An open entry is only comfortable if the spray stays inside. Place the shower head at the far end from the opening, not beside it, and aim the handheld rail along the solid wall. An overhead rain head drops water more vertically than a wall arm, which helps in shorter enclosures.
A linear grate across the entry acts as a second line of defence, catching water before it reaches the dry floor. Good exhaust ventilation matters too: without a door, steam spreads through the whole room.
04
Step-free entry
A truly level entry needs the shower floor set down, or the rest of the bathroom floor built up, so the falls fit without a lip. In older homes around Oakleigh and Carnegie the floor structure underneath decides which approach works, so it is checked before design is finalised.
If the shower needs to serve for decades, plan for it now: slip-resistant floor tile, blocking in the walls for future grab rails, a handheld shower on a sliding rail and room for a fold-down seat. Converting an existing shower over bath or tiled hob is covered in shower renovations.
05
Before you brief a walk-in shower
Which wall the opening faces, and what sits beside it
Single fixed panel or panel with a return
Linear or centre drain, chosen with the floor tile size
Shower head position relative to the entry
Level entry now, or wall blocking for later access needs
One hardware finish across glass brackets, tapware and grate
When those answers are clear, see how we plan and build walk-in showers in Oakleigh, or keep reading with Small Bathroom Ideas That Actually Work. Questions first? Send them through the contact page.